
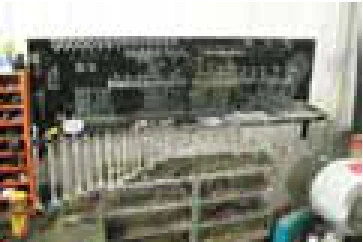
Mike Sieve is able to organize sockets by drive and size, and organize wrenches by size, thanks to the handy tool organizer he built. The tool organizer’s backboard measures 8 ft. long by 26 in. high and is made from 14-ga. sheet metal set inside a frame made from lengths of 1 1/2-in. angle iron. The various size drive sockets set on rows of pegs that extend through the backboard. There’s a 12-in. deep shelf underneath.
“The backboard is painted black, and the silver sockets and wrenches really look nice against it,” says Sieve.
“I built it because I had been storing my sockets and tools on a cart, but it seemed like I could never find the size that I needed quickly. For me, finding the tools I need is all about speed.” He welded 4 pieces of angle iron together to make the shelf frame, then cut out a piece from the sheet metal to fit inside and tack welded it on. Then he cut out the backboard. The next job was the hardest – laying out the pattern for the holes where the pegs, actually nails – go through.
“I needed to figure out which socket sizes I already had, and which sizes would be available to add in the future. I decided I wanted to have at least 5 rows of sockets plus 1 deep socket for my 1/4, 3/8 and 1/2-in. drives. I keep SAE sockets on the left side of the board and metric on the right. I figured I needed to accommodate socket sizes up to 2 in. or 50 mm.” The bottom half of the board is used to store 1/4 and 3/8-in. drive sockets, which are spaced 1 1/2 in. apart both horizontally and vertically. These sockets extend 6 rows high and go all the way to both ends of the backboard. The top half of the board is used for 1/2 and 3/4-in. drive sockets. The top row is only for 3/4-in. drive sockets, which are spaced 2 1/2 in. apart. Right below it are 6 rows of 1/2-in. sockets, which are spaced 1 3/4 in. apart both horizontally and vertically.
“To get the pegs ready, I drilled out a hole sized for the nails that I wanted to use,” says Sieve.
“I used nails that would be 1/2 in. longer than the socket’s total length. Drilling all those holes was a tedious job. Then I placed all the nails in their holes and welded them to the board from the back side. Contact: FARM SHOW Followup, Mike Sieve, 2345 Ritchance Rd., Alfred, Ont., Canada K0B 1A0 (ph 613 675-2754 or 613 577-2099; [email protected]).
Reproduced from the published FARM SHOW entry. Prices, coupons, availability and contact details are historical, not current offers. Reader methods are not universal instructions: follow manufacturer guidance, proper supports and safety practices, and consult a qualified professional when needed.
Comments and votes
Have you tried this idea? Mark it helpful and share how it worked in your shop.